Inside the hot chicken curriculum
This page is the module list, written out so you know exactly what you are buying before you enroll. No teaser clips, no vague promises about restaurant secrets. Every module below is a skill you will practice on your own stove.
How the course runs
A fixed order, because each step leans on the last
The course is built in a fixed order because each module depends on the one before it. You can jump around once you have cooked the base method, but the paste ratios and fry timing only make sense after you have done the first tender batch. If you already fry well, you can start at the paste module and work backward only if a batch tells you to.
Everything here is written for a home kitchen. You do not need a commercial fryer, a proofing cabinet, or a stack of specialty gear. A heavy pot, a thermometer, a wire rack, and a sheet pan carry most of the curriculum.
Eight modules from brine to street food
You cook every one of them on your own stove, with a written recipe beside the video.
Module 1: The brine and why it matters
Hot chicken has to stay juicy under a heavy crust and a hot glaze, and the brine is what buys you that margin. This module covers a buttermilk brine, a salt-and-sugar ratio, and how long tenders, thighs, and wings each need. You will learn what happens if you brine too long and how to recover a batch that has gone slightly firm.
The brine is also where a lot of flavor gets built before any heat arrives, which is why the course puts it first.
Module 2: The dredge and the crust
A crust that clings starts with how you handle the flour. This module covers a seasoned dredge, the press-and-flip technique, and the rest period that lets the coating hydrate before it hits oil. You will learn why some batches shed their crust in the pot and how to fix the next one.
We also cover a gluten-free dredge option, because the method works with a rice-flour blend once you adjust the rest time.
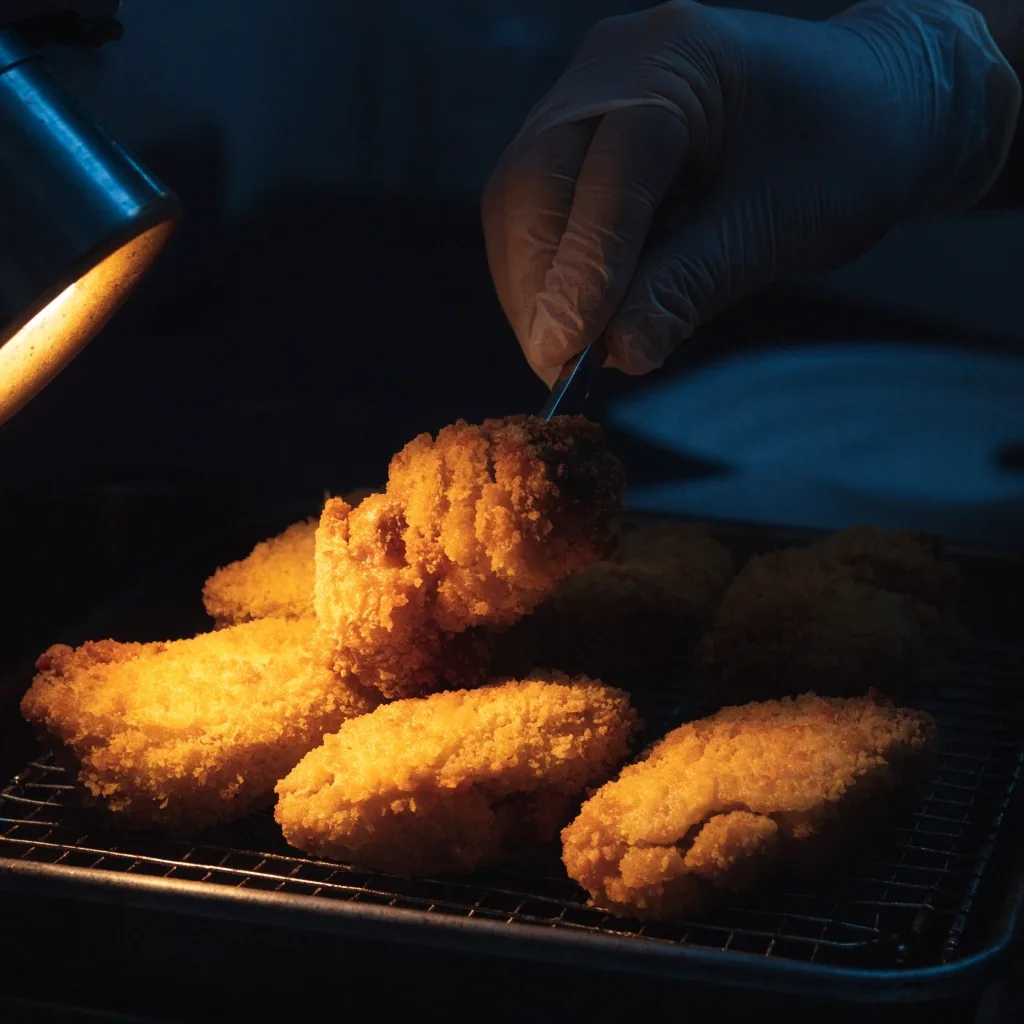
Module 3: Frying tenders
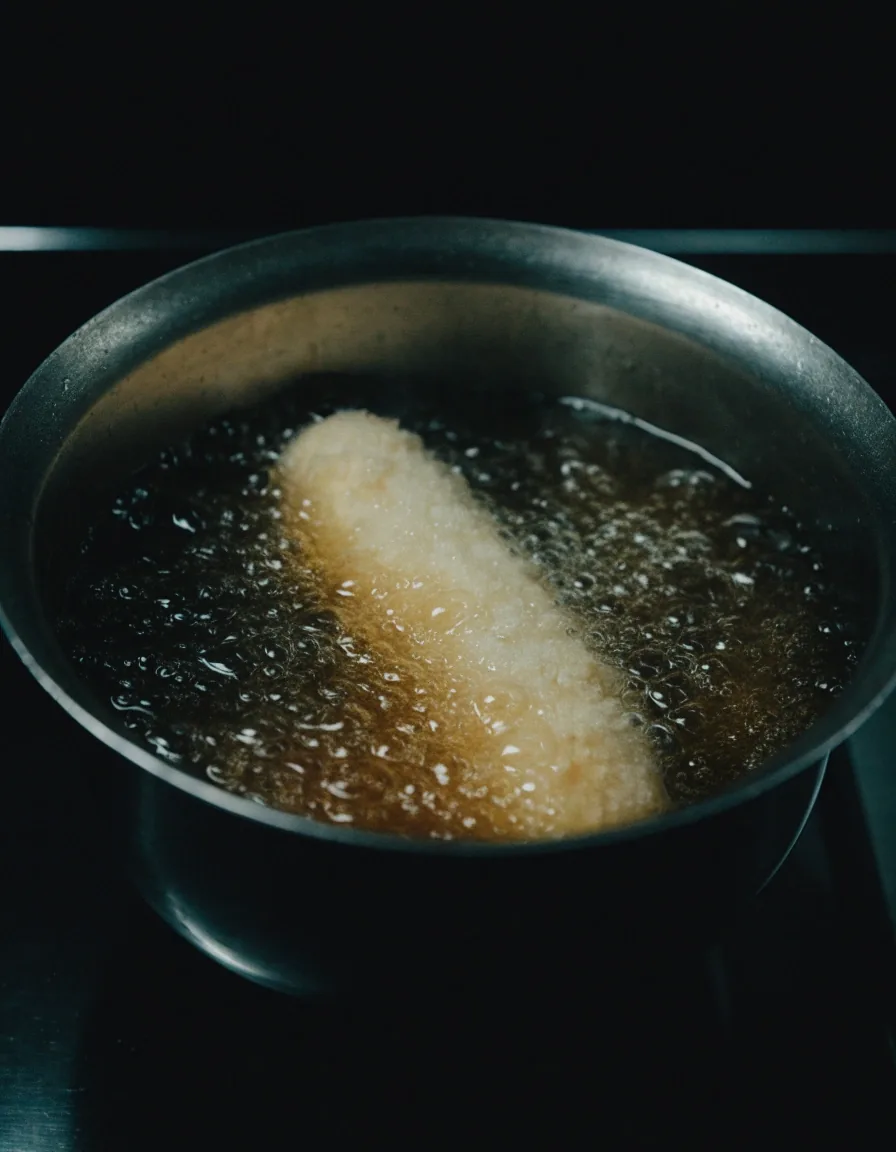
Tenders are the cleanest way to learn temperature control. This module walks through oil depth, the 325-350°F range, and how to read the crust instead of trusting a timer. You will fry a full batch and check internal temperature, then compare a piece pulled early against one pulled at the right moment.
By the end you should be able to repeat a tender batch without measuring anything except the oil temperature.
Module 4: Building the cayenne paste
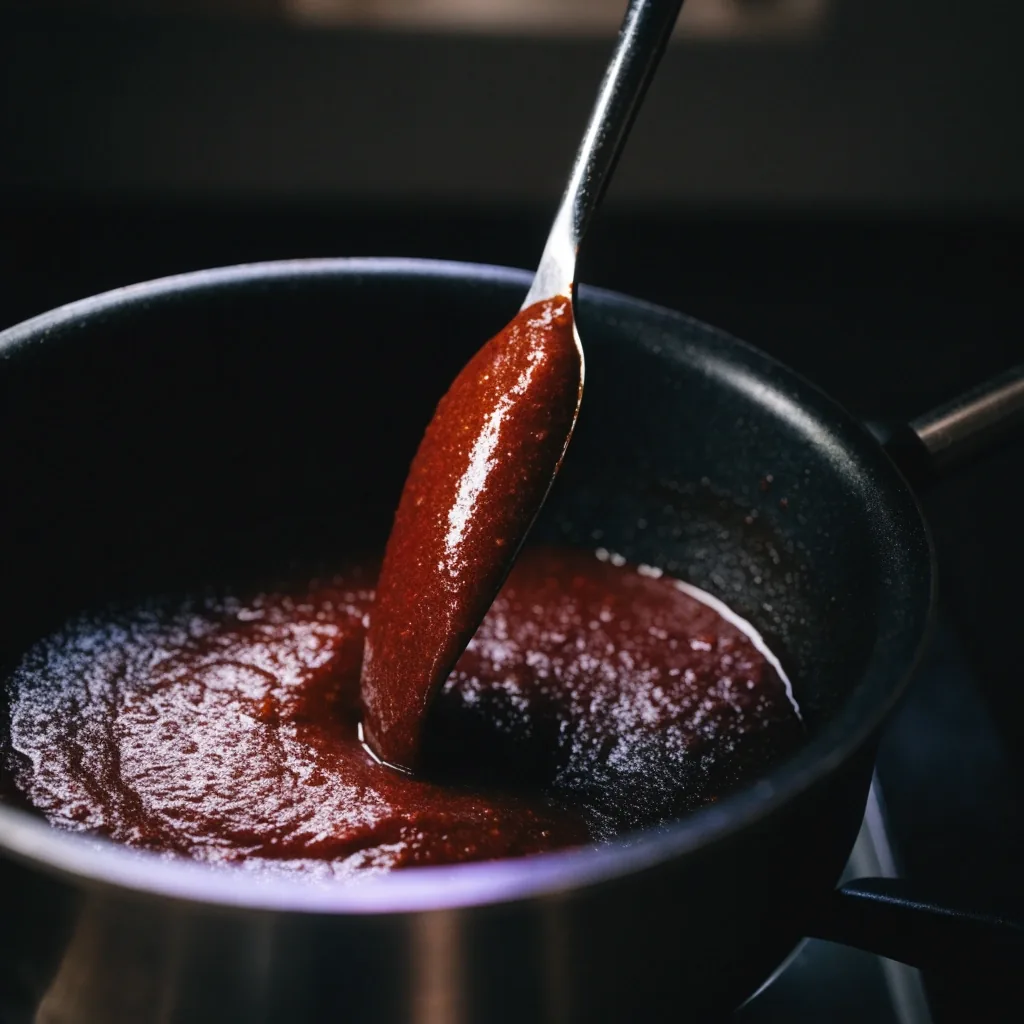
This is the core lesson of the course. You will build the paste from cayenne and a fa, learn the ratio that keeps it glossy, and understand why it goes on after frying. The module covers the oil, butter, and lard versions and how each changes the texture and the flavor.
You will also learn the small additions that carry flavor past raw heat: a little sugar, an acid, a pinch of the dredge seasoning. Done right, the paste tastes like a sauce, not a punishment.
Cayenne and fa, whisked off the heat until the glaze coats the back of a spoon.
Module 5: The heat ladder
Here the paste becomes a system. You will build one base and scale the cayenne by weight to move from mild to extra hot and up to the Reaper tier. The module gives you the chart, the weights, and a tasting method so you can calibrate your own tolerance instead of guessing.
The point is control. You should be able to cook a mild batch and a hot batch from the same pot of chicken.
Mild
The base paste with the cayenne scaled back. Enough warmth to taste the seasoning, easy to serve to anyone at the table.
Where most cooks start
Medium
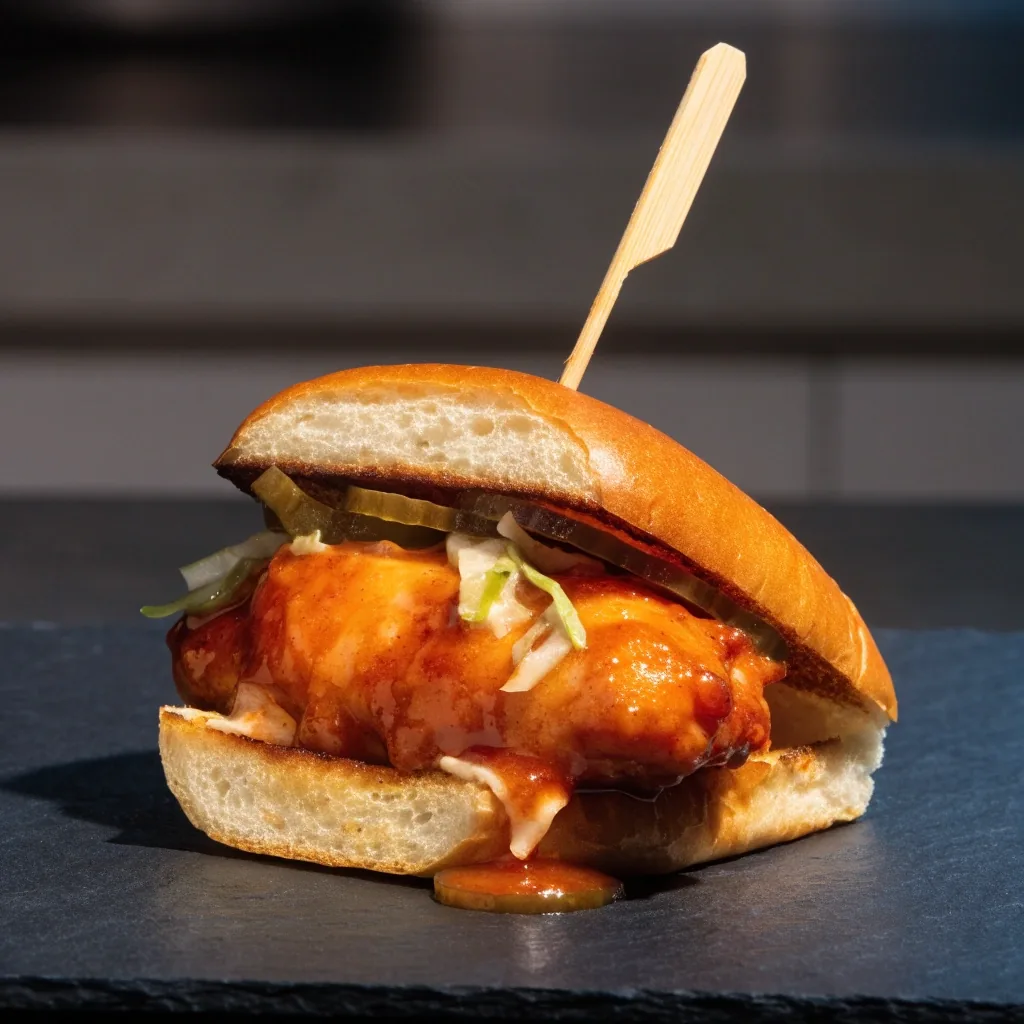
A clear cayenne bite that still lets the brine and the crust come through. The level most sliders get served at.
Balanced glaze
Hot
The paste thickens and the heat lingers. You learn to taste for balance so the sweetness and the acid keep up with the cayenne.
Sweet-heat balance
Extra hot
Weight-scaled cayenne pushes the glaze darker and glossier. You learn where a piece stops tasting like sauce and starts tasting like punishment.
For confident cooks
Reaper
The top of the ladder, built from the same base paste with a measured cayenne increase. Handle it with gloves and a plan for what you serve it on.
Handle with care
Module 6: Sliders and the build
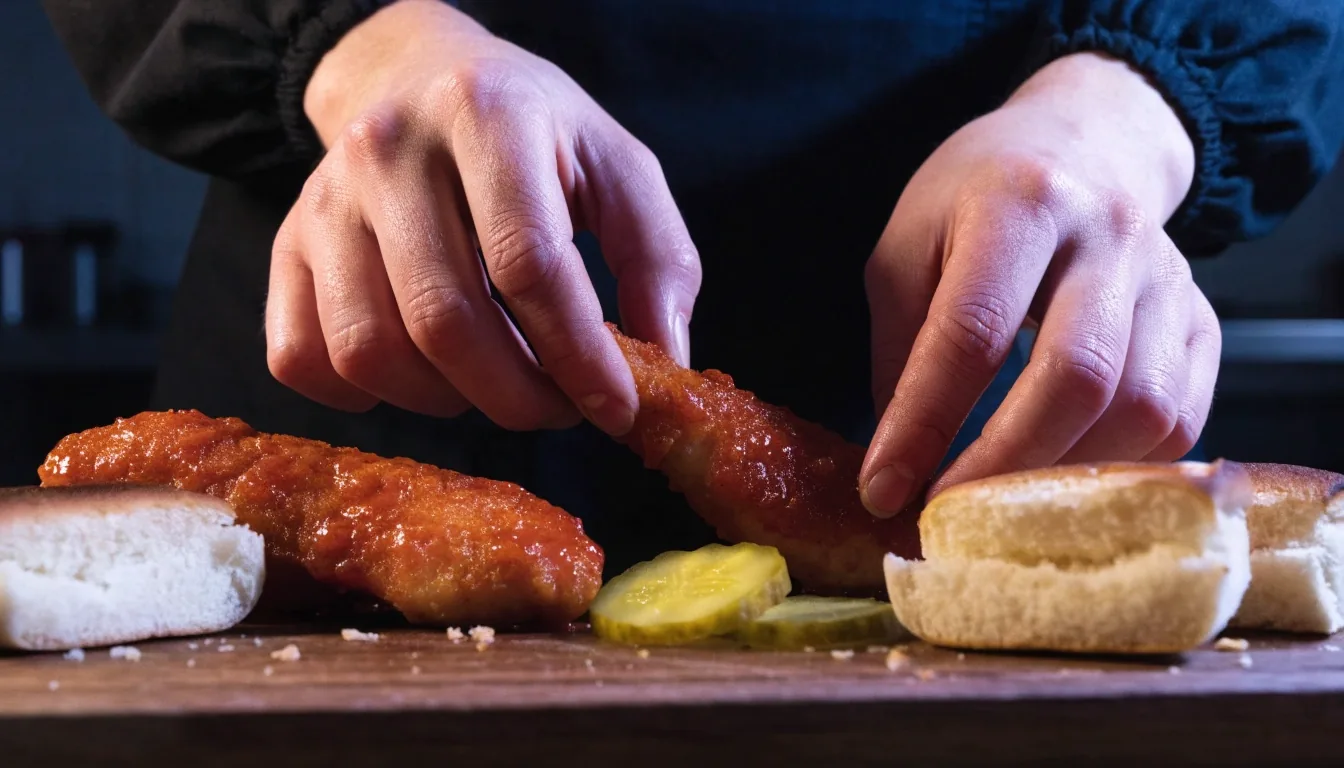
Sliders add assembly to the method. This module covers bun choice and toasting, a quick slaw, pickle selection, and a sauce that cuts the fa. You will learn how to keep the bottom bun from going soggy once the glaze is on.
We treat the slider as its own recipe, not a smaller sandwich, because the ratios change when the piece is small.
Module 7: Wings and bone-in cuts
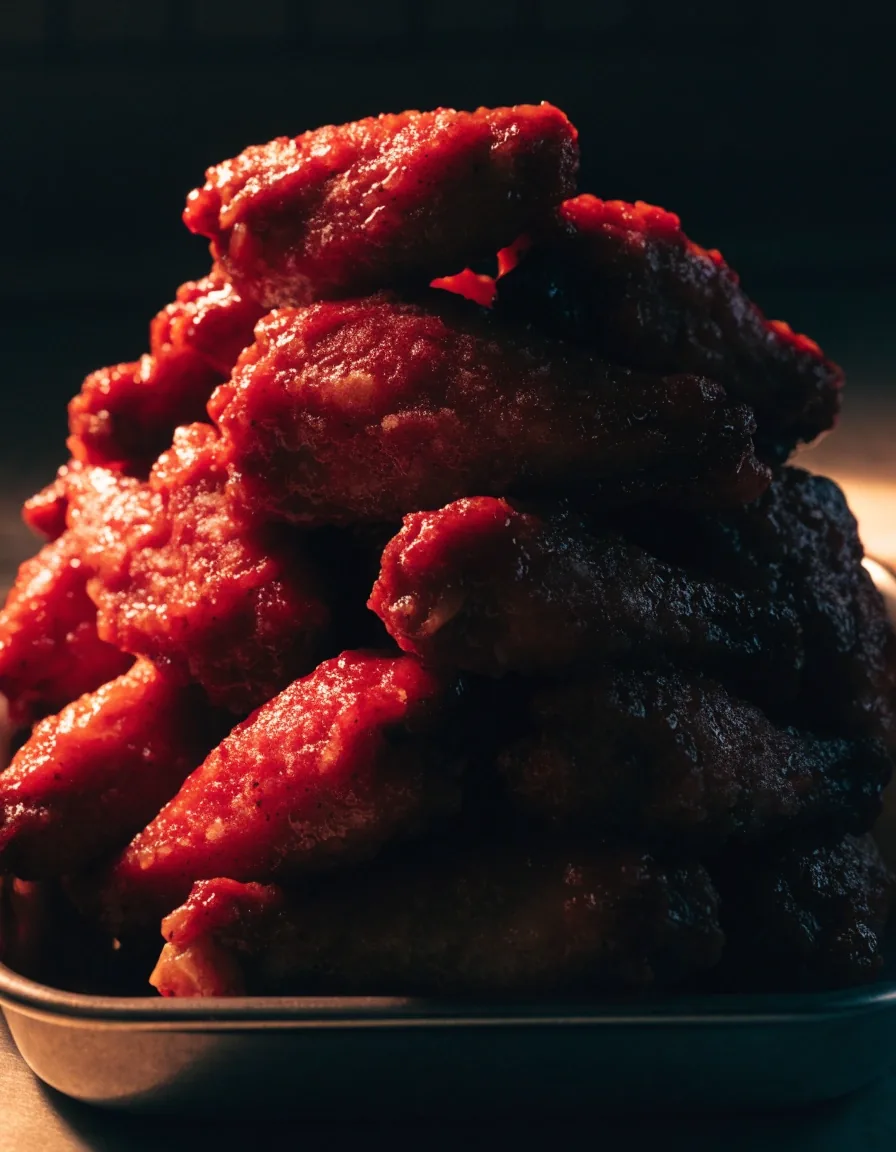
Wings and thighs behave differently from tenders: skin, bone, and fa all change the fry timing. This module covers a two-stage fry for wings, a confit-style thigh option, and how to apply the paste so it reaches the skin without drowning it.
You will also learn why some wings come out flabby and how to dry the skin before frying.
Module 8: Beyond the classics
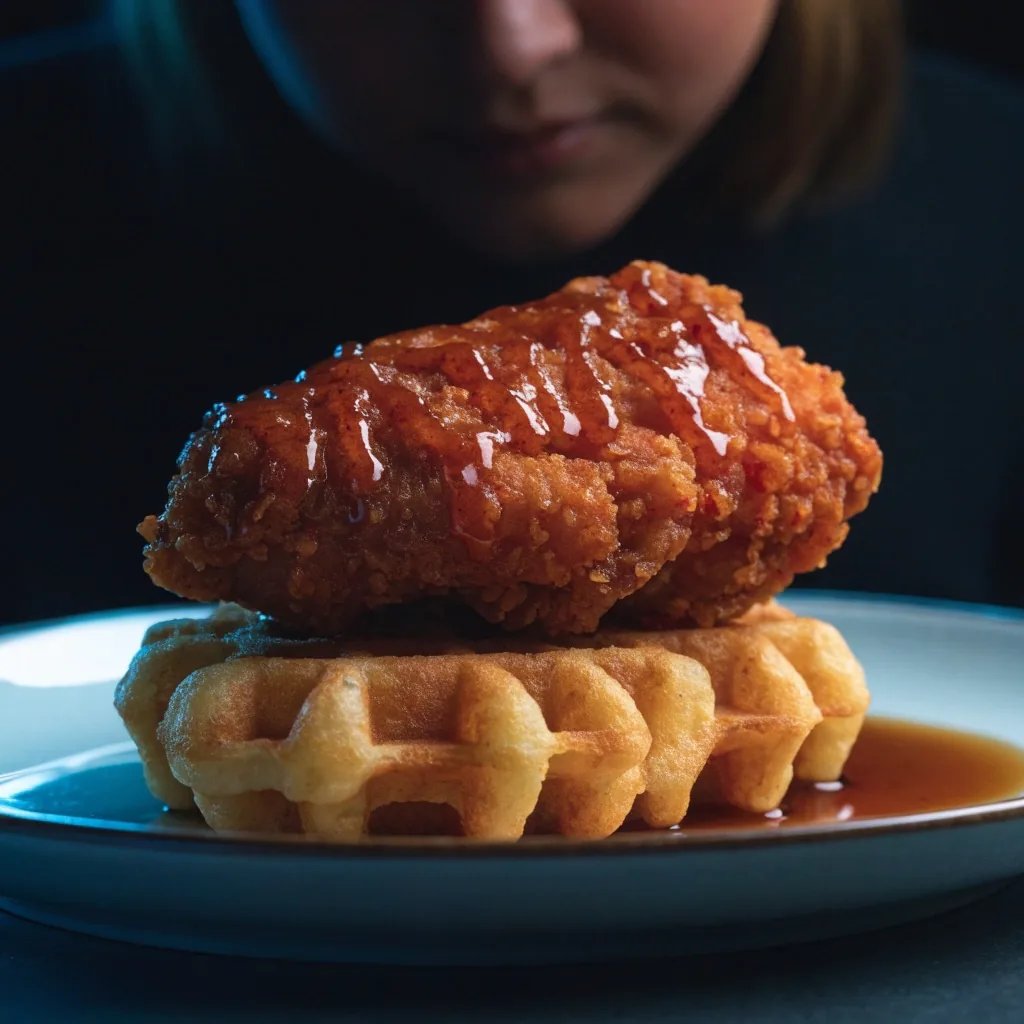
The last module stretches the method into sandwiches, chicken and waffles, and a few handheld street-food formats. This is where you learn that hot chicken is a technique, not a single dish, and where you start adapting the paste to your own menu.
We cover the sweet-heat pairing behind chicken and waffles and how to keep the waffle crisp under a glazed piece of chicken.
How the practice cooks work
Each module ends with a practice cook and a short checklist. You cook, you check internal temperature, crust sound, glaze coverage, and salt, and you compare against the module's reference notes. If a batch misses, the troubleshooting guide maps the failure back to the step that caused it.
You do not submit anything or wait for a grade. The checklists are yours to use.
What the checklists cover
- Internal temperature at the thickest point
- Crust sound and colour against the reference note
- Glaze coverage and whether the paste pools
- Salt level after the brine and the dredge
Pacing and access
The full course is designed to be cooked through in a few weeks at a normal dinner pace, but there is no deadline. Modules unlock immediately on enrollment and access does not expire, so you can repeat the paste lesson as often as you like.
If you already fry well, you can start at the paste module and work backward only if a batch tells you to.
Written recipes
Every module ships a written recipe you can cook from at the stove, with weights and temperatures spelled out.
Video walkthroughs
A technique video sits beside each recipe so you can see the press-and-flip, the fry, and the paste come together.
Questions before you enroll
Do I need to complete modules in order?
For your first cook, yes. After you have fried one tender batch, you can jump to the paste or wing modules whenever you want.
Are the recipes written or only on video?
Both. Every module has a written recipe you can cook from, plus a video walkthrough of the technique.
What if a recipe fails?
The troubleshooting guide covers the common failures, from crust shedding to a glaze that pools, and points to the step to change.
Ready to cook the full ladder
The curriculum above is what you get on day one. If you want a second opinion before you commit, read the heat ladder page for how the paste scales, or browse the recipes for the dishes the last module opens up.
Still deciding
Send a question about any module and we will answer it plainly before you enroll.
Ask a questionMonday to Friday, 9:00 AM to 6:00 PM Central Time. +1-615-555-0129